macOS (Mac OS X or OS X) is the current series of Unix-based graphical operating systems developed and marketed by Apple Inc. designed to run on Apple’s Macintosh computers (“Macs”). Within the market of desktop, laptop and home computers, and by web usage, it is the second most widely used desktop OS after Microsoft Windows. Recently, while working on one of my projects, there was a requirement to integrate our system with LDAP i.e. Lightweight Directory Access Protocol (LDAP). So, I wanted to try out some samples by installing OpenLDAP on my MAC. Initially, it looked straightforward but later I realized that there are multiple steps involved to get OpenLDAP up and running in my Mac. So, I thought of documenting various steps so that others can refer them.
What do you need to begin?
- MAC
- Obviously you need MAC because these steps will work only for MAC (Sorry Windows users)
- Homebrew
- This is a package manager for macOS. Click here and follow the instruction to install this on your MAC.
- OpenLDAP
- Click here and download the .tgz file. At the time of this blog, the latest available version was 2.4.45
- JXplorer
- This is an open source LDAP browser. Click here and download osx.zip file. At the time of this blog, the latest available version was 3.3.1.2
Setup
Lets begin the step now. I am assuming that you already have Homebrew installed. Now, we need to install Berkeley Database which is needed for OpenLDAP. Open “Terminal” and execute following command to install Berkeley DB.
Output after executing the command:
Now, its time to configure OpenLDAP. Extract the contents of OpenLDAP .tgz file. Open “Terminal” and go to the openldap-<version> folder and execute following command.
Note that LDFLAGS and CPPFLAGS values are taken from the output of Berkeley DB install command.
If everything is successful, last line of above command should be: Please “make depend” to build dependencies.Next step? Yes, we will execute this command.
This will take time, but once this is done we will execute following command which will build OpenLDAP and make it ready to install.
Now, following step is optional but it is recommended. This command will execute various unit tests. Executing unit tests will take time, so be patient.
Once all the tests are complete and successful, we are now ready to install OpenLDAP. Following command will install OpenLDAP on your MAC.
Now the installation is complete. After installation two folders are generated. The first one is /usr/local/var/openldap-data where data is stored. Second one is /usr/local/etc/openldap where all the installation files will be present. Here are the steps for configuring slapd.conf file.
The slapd.conf file contains “rootpw”. You can choose to keep this value in plaintext format which can be a security issue. If you choose to encrypt the value, then you will have to execute following command which generates encrypted password.
Now execute following command to launch OpenLDAP.
Now, create root-ou.ldif file with following contents.
Finally, execute following command to add root organization unit.
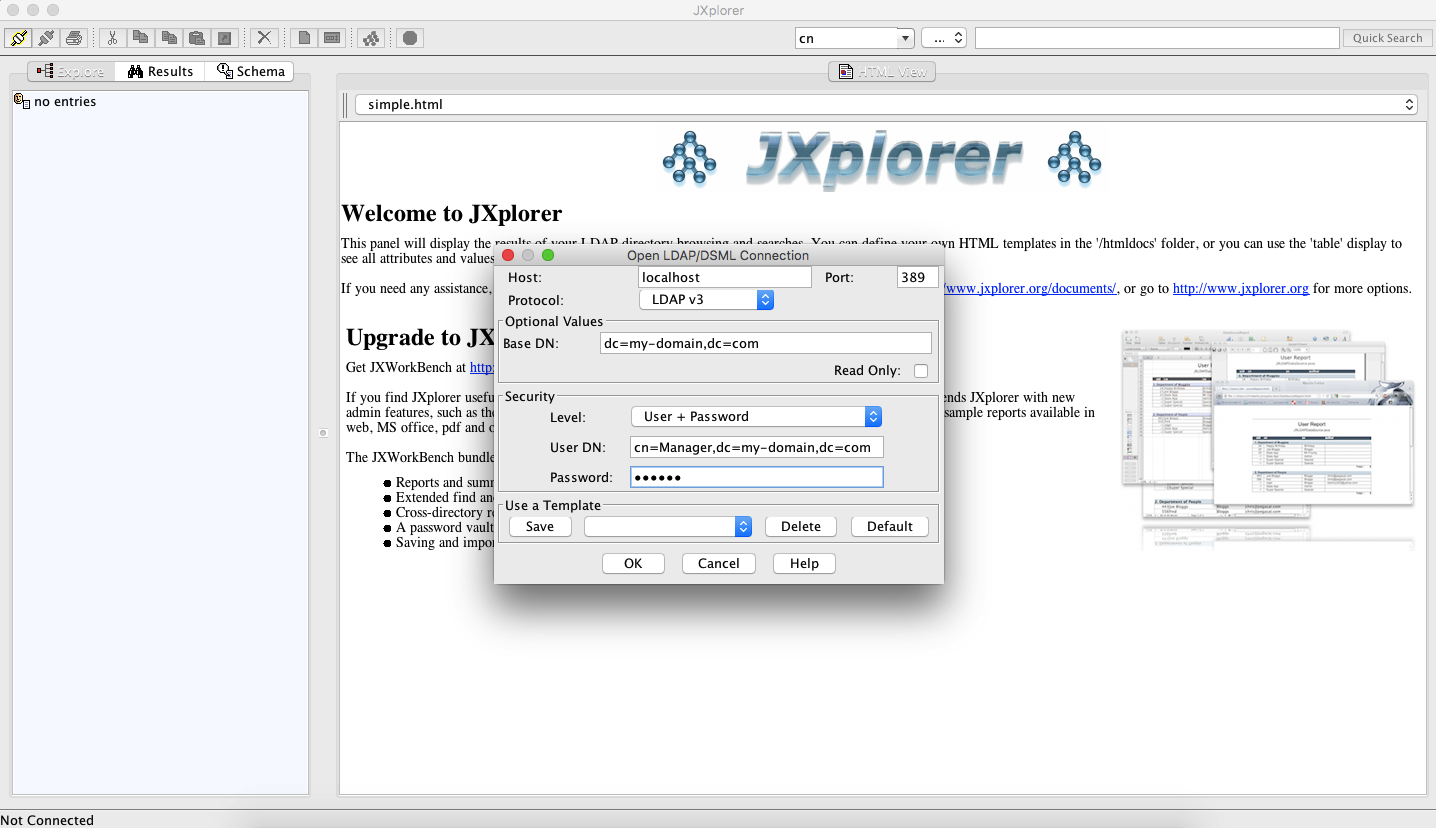
You can now use any LDAP browser to manage LDAP tree. I am using JXplorer.
All the best!